RS-232 remains relevant
In the late 1990s, IT professionals faced a limited set of options when it came to configuring network devices. One of the primary methods for setting up routers and firewalls was through the trusty RS-232 interface. While this is quite dated it remains a reliable and relevant means of communication.
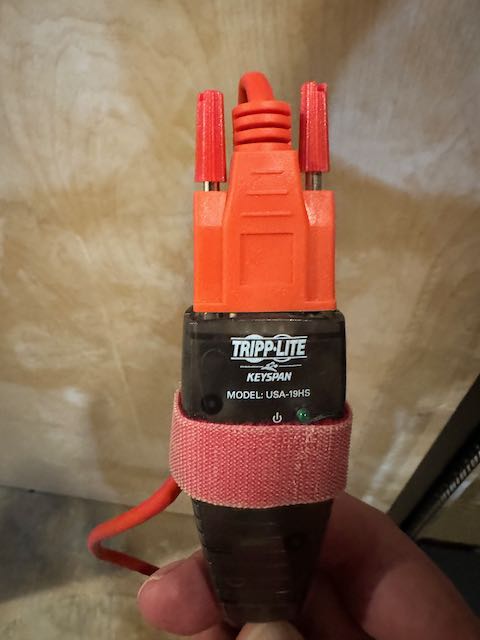
Fast forward to today's cloud-centric world, where sleek web interfaces dominate the landscape of network management. You might think that RS-232 has become obsolete, relegated to the annals of tech history. However, this couldn't be further from the truth. I recently dusted off an old Keyspan device and cable that was in my “techy GO-BAG” and used that as the foundation to construct a DIY RS-232 console server using a Raspberry Pi.
Why RS-232 Still Matters
- Fundamental Knowledge: Understanding RS-232 helps grasp the basics of how devices communicate at a low level. Baud rates, stop bit, oh my!
- Failsafe Access: When network connectivity fails, a direct serial connection can be your lifeline to diagnose and fix issues.
- Security: Serial connections are inherently more secure as they require physical access to the device, reducing the attack surface.
- Learning CLI Syntax: Many modern network devices still support CLI (Command Line Interface) configuration. Using an RS-232 connection forces you to interact with these CLIs directly, enhancing your understanding of command syntax.
Building Your Own RS-232 Console Server
Creating a DIY RS-232 console server with a Raspberry Pi is an excellent project that combines hardware tinkering with software configuration. Here's why it's worth your time:
- Cost-Effective: Commercial console servers can be expensive. A Raspberry Pi-based solution is significantly more affordable, and many of you probably have an older RPi3 sitting on the shelf.
- Customizable: You can tailor the setup to your specific needs and preferences.
- Educational: The process teaches you about Linux, networking, and hardware interfacing.
- Practical: Once set up, you have a powerful tool for managing multiple network devices.
Getting Started
To build your RS-232 console server, you'll need:
- A Raspberry Pi (any recent model will do) RPi4
- USB to RS-232 adapters (one for each device you want to manage) - I already had a few Keyspan adapters handy and just needed to get the serial to RJ45 cable
- Ethernet cable for network connectivity
- Power supply for the Raspberry Pi
- MicroSD card for the Raspberry Pi's operating system
There are thousands of tutorials on how to get the RPi setup, so I won’t cover those steps here. There are several different methods to communicate with the serial port, here are a few options with my preferred method.
- cu - This is a package that can be installed that originates from the name "Call Up" another system back when we used to use modems.
- minicom - another common package that supports some file transfer options like Kermit.
- [CURRENT FAVORITE] tio - You can find the source on github, a beautifully simple and effective Terminal IO. Congrats to the author for fine work.
If you don't want to build tio from source you can always install the package with
raspberrypi:~ $ sudo apt install tio
Then it is as simple as this to start using tio
$ tio /dev/ttyUSB0
Closing thought
While modern network management tools have their place, there's still immense value in understanding and utilizing RS-232 connections. While it is a small project but building your own console server you have another tool at your disposal, and it may just save you when you misconfigure a router and lock yourself out.
Dust off that old Raspberry Pi. The world of RS-232 is waiting to remind you why it's still relevant in today's networking landscape.